Add Image Maps
If you want to add multiple links in different areas of your image, you need to add image maps for the links.
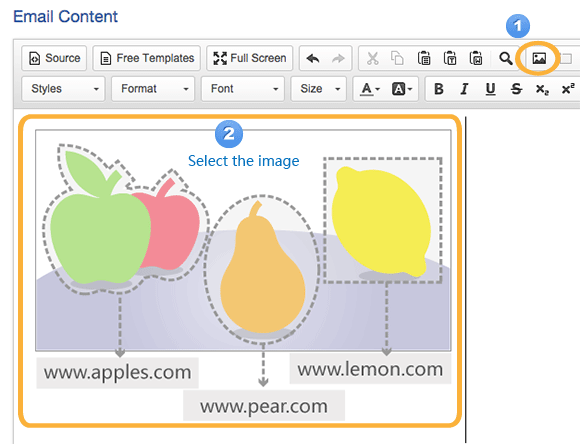
Step 1: Insert Image and Select the Image
In the editor of [Email Content], insert your image and select it.
Tips
Learn more about how to insert images in email content.
Step 2: Go to Image Map Properties
Click [Image Map] icon in the Menu of the editor.
![Click [Image Map]](../../../resources/img/campaign/add-image-maps/en-02-ef2b3a8b9a.png)
Step 3: Draw the Image Map Area
There are three area shape for your selection. Choose a suitable area shape and draw the area where you want to add a link on your image.
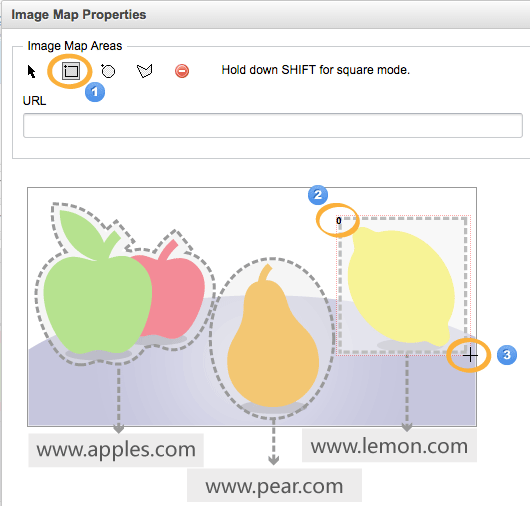
Option 1: Draw a Rectangle Area
Select [Rectangle] Area. Single click the top left point of the area you want to add link in your image, then move the mouse to draw a rectangle, and single click on the bottom right point of the area to finish drawing.
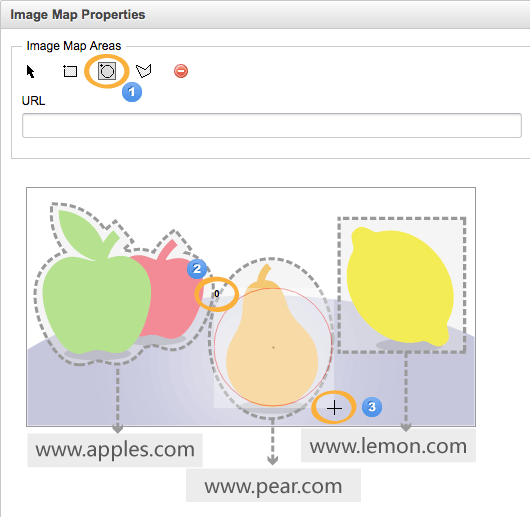
Option 2: Draw a Circle Area
Select [Circle] Area. Single click the top left point of the area you want to add link in your image, then move the mouse to draw a circle, and single click again to finish drawing.
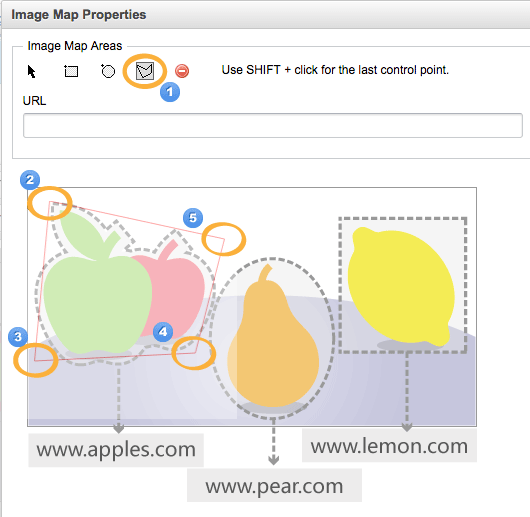
Option 3: Draw a Polygon Area
Select [Polygon] Area. Single click to add control points, Shift + single click to finish drawing.
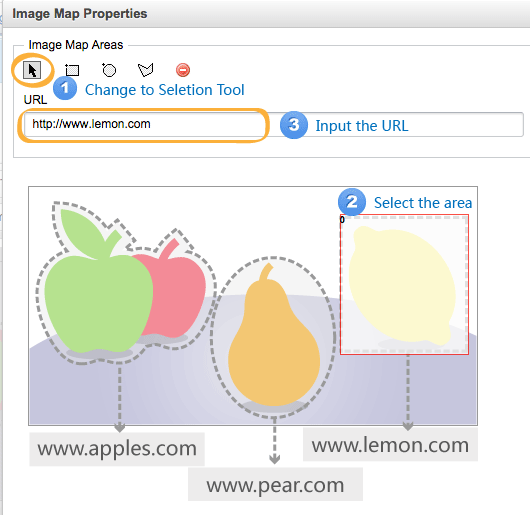
Step 4: Add URL for the Image Map Area
Select the image map area, then fill in the URL for this area. The URL need to begin with "http://" or "https://".
When everything is ok, click [OK]. The image map area will be shown with a grey frame.