Insert Images in Email Content
Step 1: Locate the Image Position in Email Content
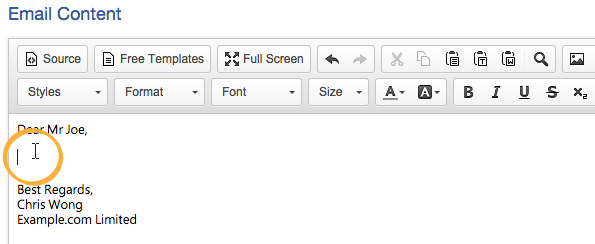
In the editor of [Email Content], locate your mouse in the position where you want to insert the image.
Step 2: Go to Image Properties
Click [Image] icon in the Menu of the editor.
![Click [Image]](../../../resources/img/campaign/insert-images-in-email-content/en-02-62df90e6cb.png)
Step 3: Select the Image
Method 1: Use URL to Link the Image
If the image you want to insert is already stored in the Internet, you can simply copy and paste the link of the image in the [URL] field.
![Copy and paste the link of the image in the [URL] field](../../../resources/img/campaign/insert-images-in-email-content/en-03-02e036a4bf.png)
OR
Method 2: Upload the Image to Our Server
If your image is not stored in the Internet, you can upload it to our server, and then select the uploaded image.
![Click [Browse Server] button to go to the upload page](../../../resources/img/campaign/insert-images-in-email-content/en-04-94a9c47efb.png)
![Click the [Upload files] button or drag and drop your files to upload](../../../resources/img/campaign/insert-images-in-email-content/en-05-6f590e3eb0.png)
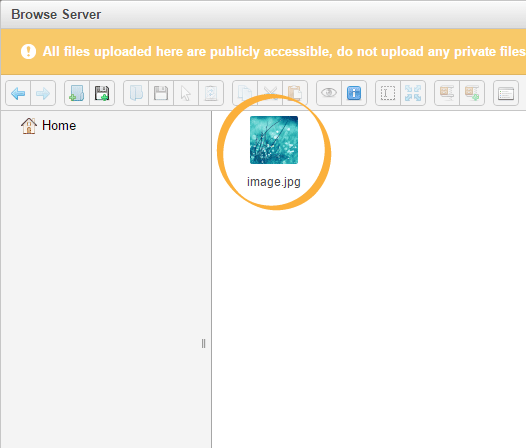
After selecting the image, the image will be shown in the [Preview] panel. It means you successfully select the image.
Step 4: Set the Alternative Text for the Image
You can add [Alternative Text] for the selected image. These text will be shown when your recipients' email clients block images.
![Add [Alternative Text]](../../../resources/img/campaign/insert-images-in-email-content/en-07-37a3cea863.png)
When everything is ok, click [OK].