Create a Group
Before sending any email or SMS campaign, you need to create a group. There are 4 methods to do this.
Method 1: Create Group During Import
When you import contacts, select [Create Group] under [Action] of [Group Creation] settings.
To view the details, please check the article: Import Contacts - Create Group.
Method 2: Create Group After Import
Step 1: Go to [Data Import]
Click [Tools] at the top right corner of the screen.
![Click [Tools]](../../../resources/img/contact-management/create-a-group/en-01-8b8df3142e.png)
Select [Data Import].
![Select [Data Import]](../../../resources/img/contact-management/create-a-group/en-02-ab5d0493fc.png)
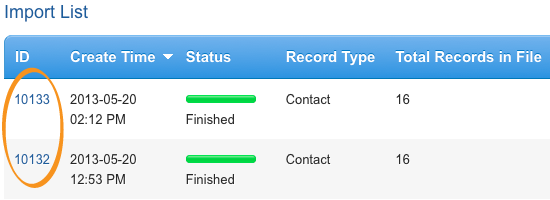
Step 2: View Import Report
Click [Import ID] to see particular import report.
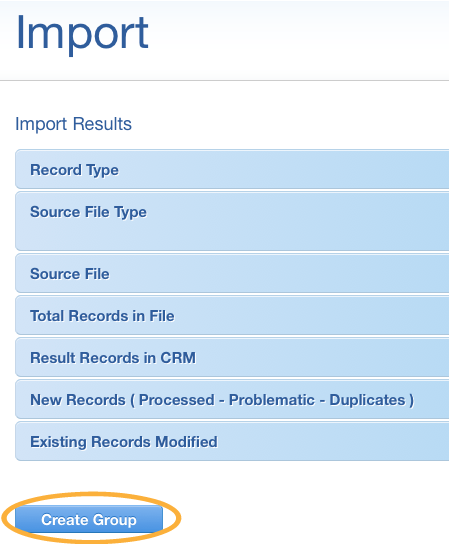
Step 3: Save Imported Contacts as Group
Under [Import Results], click [Create Group] button to save successfully imported contacts into a group.
Method 3: Create Group with Tagging
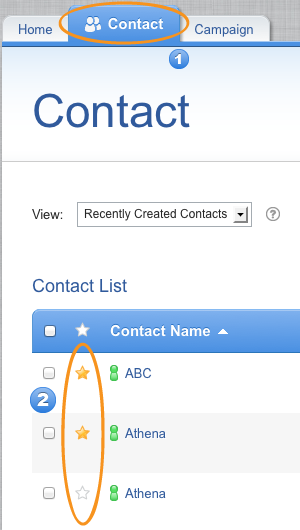
Step 1: Tag Contacts
Enter the [Contact] section. Click the [Star] icon next to the contacts which you want to add to a group.
Step 2: View Tagged Contacts
View [Tagging Basket] by clicking its icon in the top bar.

Step 3: Add Tagged Contacts to Group
On the bottom of Tagged Items, you can see buttons for bulk actions. From drop down list [More Actions], select [Add to Group], then click the [Go] button next to it.
![Choose [Add to Group]](../../../resources/img/contact-management/create-a-group/en-07-6f2abacfaf.png)
Step 4: Enter Group Details
Fill in the [Group Details]:
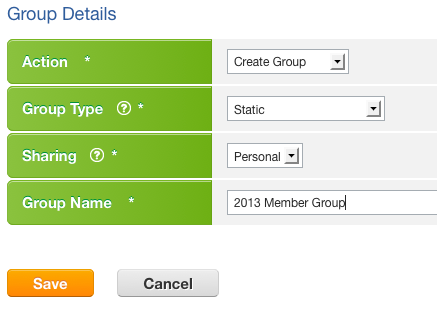
Action: Select [Create Group].
Group Type: Select [Static].
Sharing: Decide whether to share your group. Keep [Personal] if you do not want to share to other users.
Group Name: Give a name to the group.
Group: If you have chosen [Append to Group] or [Overwrite Group] in [Action], then you have to select a group only correspondingly, else you will not be asked for this option.
Click the [Save] button after filling in the form.
Tips
About [Personal Group] and [Public Group], please view: Group Access
About [Static Group] and [Dynamic Group], please view: Group Type
Method 4: Create Group with Selection Criteria
Step 1: Go to Group
First, go to [My Setup].
![Enter [My Setup]](../../../resources/img/contact-management/create-a-group/en-09-27d2cc7079.png)
Then select Group.
![Select [Group]](../../../resources/img/contact-management/create-a-group/en-10-0e39a3cf66.png)
Enter the [Campaign] section, then click [Group] at the top right corner.
![Click the shortcut under the [Campaign] section](../../../resources/img/contact-management/create-a-group/en-11-95f2cbbaf6.png)
Step 2: Create a Group
Click [Create Group] at the top right corner.
![Click the [Create Group] shortcut](../../../resources/img/contact-management/create-a-group/en-12-292c5b1ed5.png)
Step 3: Define the Criteria
Define criteria for contact searching.

You can add more criteria by clicking the [Add] icon. Click the [Next] button after defining all your criteria.
Step 4: Review Result and Save
To save matched contacts into a group, pick a group type, define its sharing status and name it.
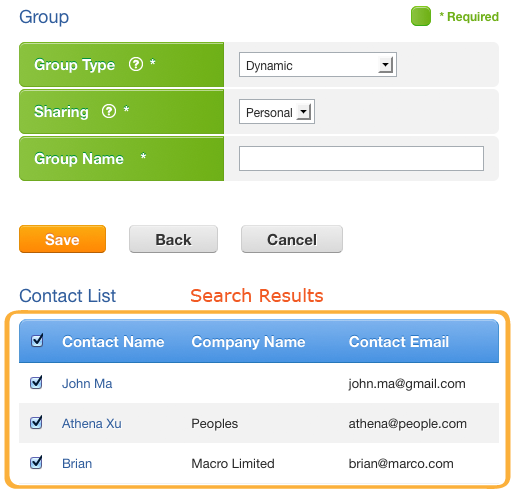
If you uncheck any searched contacts, you will not be allowed to save the group as [Dynamic Group]. Click the [Save] button to proceed.
Tips
About [Personal Group] and [Public Group], please view: Group Access
About [Static Group] and [Dynamic Group], please view: Group Type
About different kinds of [System Group], please view: System Groups